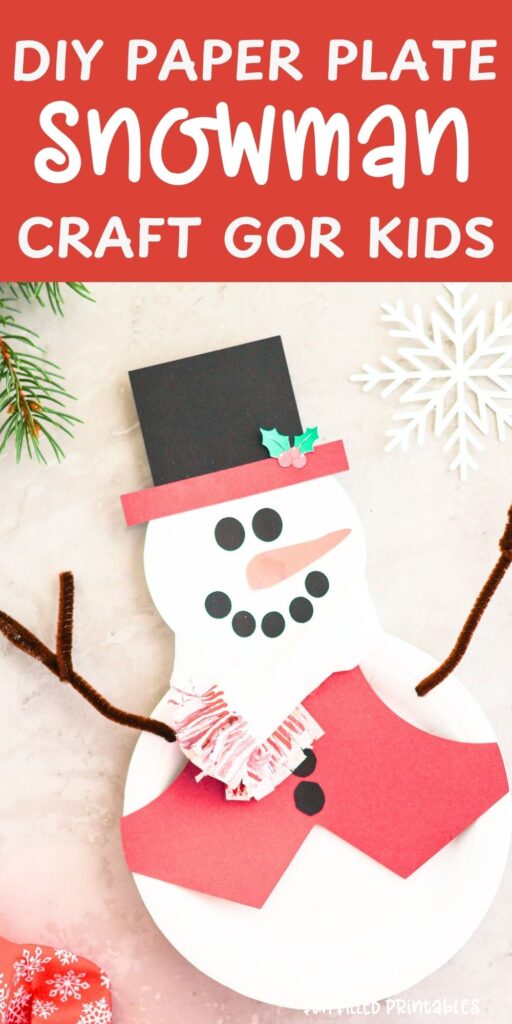
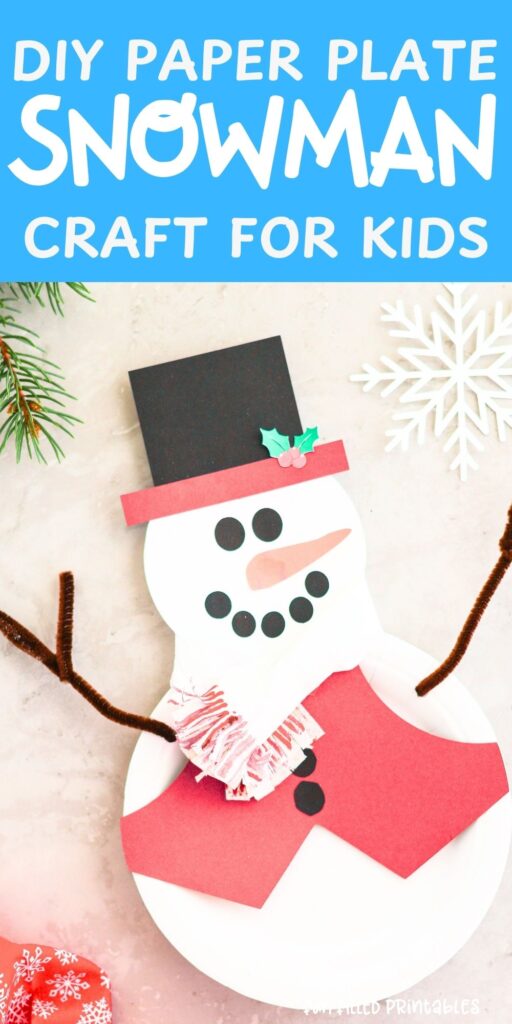
DIY Paper Plate Snowman Craft For Kids -Fun & Easy
Do you want to build a snowman? Kids love making snowman and this DIY snowman craft is a perfect way to bring their frosty friend to life and that too without snow!
Not only is this paper plate snowman craft a great winter activity for kids, but it also requires minimal supplies—most of which we probably already have at home.
Whether you’re a parent, teacher, or caregiver, this fun snd simple snowman craft is ideal for keeping kids engaged during chilly days indoors.
And if you’re looking for an even simpler snowman activity that doesn’t require any supplies, this build your own snowman printable is just right!
How to Make Your Snowman
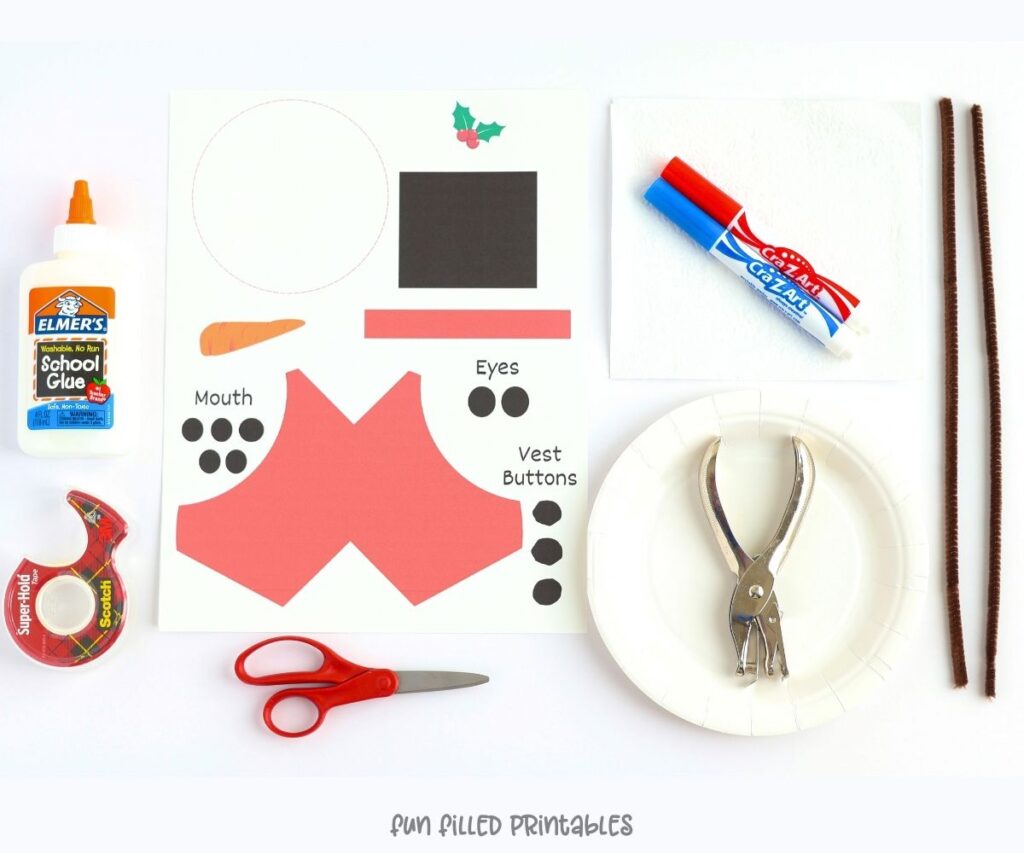
Supplies Needed:
- Color printer
- 1 – 8.5 x 11 White card stock paper
- 7-inch paper plate
- 2 Brown pipe cleaners
- 1 Paper napkin
- Markers
- Scissors
- Hole punch
- Glue
- Tape
Snowman Craft Instructions:
- Using the attached PDF file, print the snowman parts out on white cardstock paper.
- Cut out each piece using scissors. You will have the following:
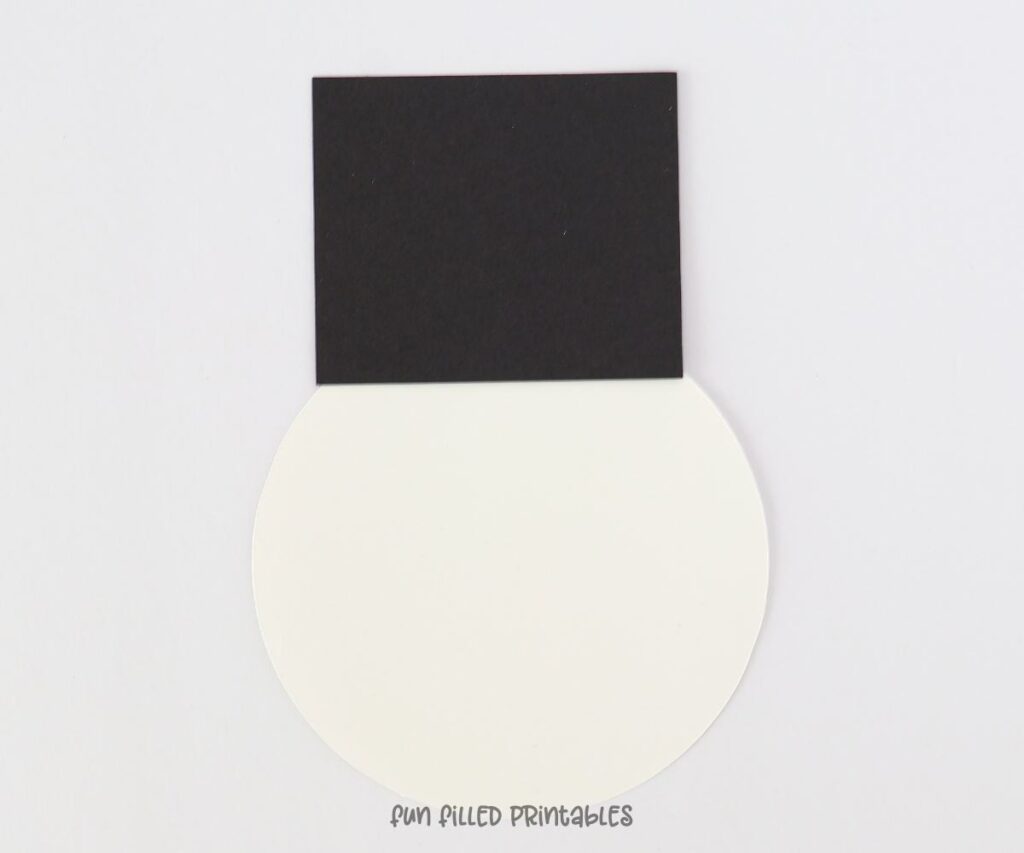
- 1 Large circle for the head
- 2 Black circles for the eye
- 5 Black smaller circles for the mouth
- 1 Carrot for the nose1 Square for the hat
- 1 Rectangle for the brim of the hat
- 1 Holly for the hat
- 1 Vest
- 3 Odd shaped circles for the vest buttons
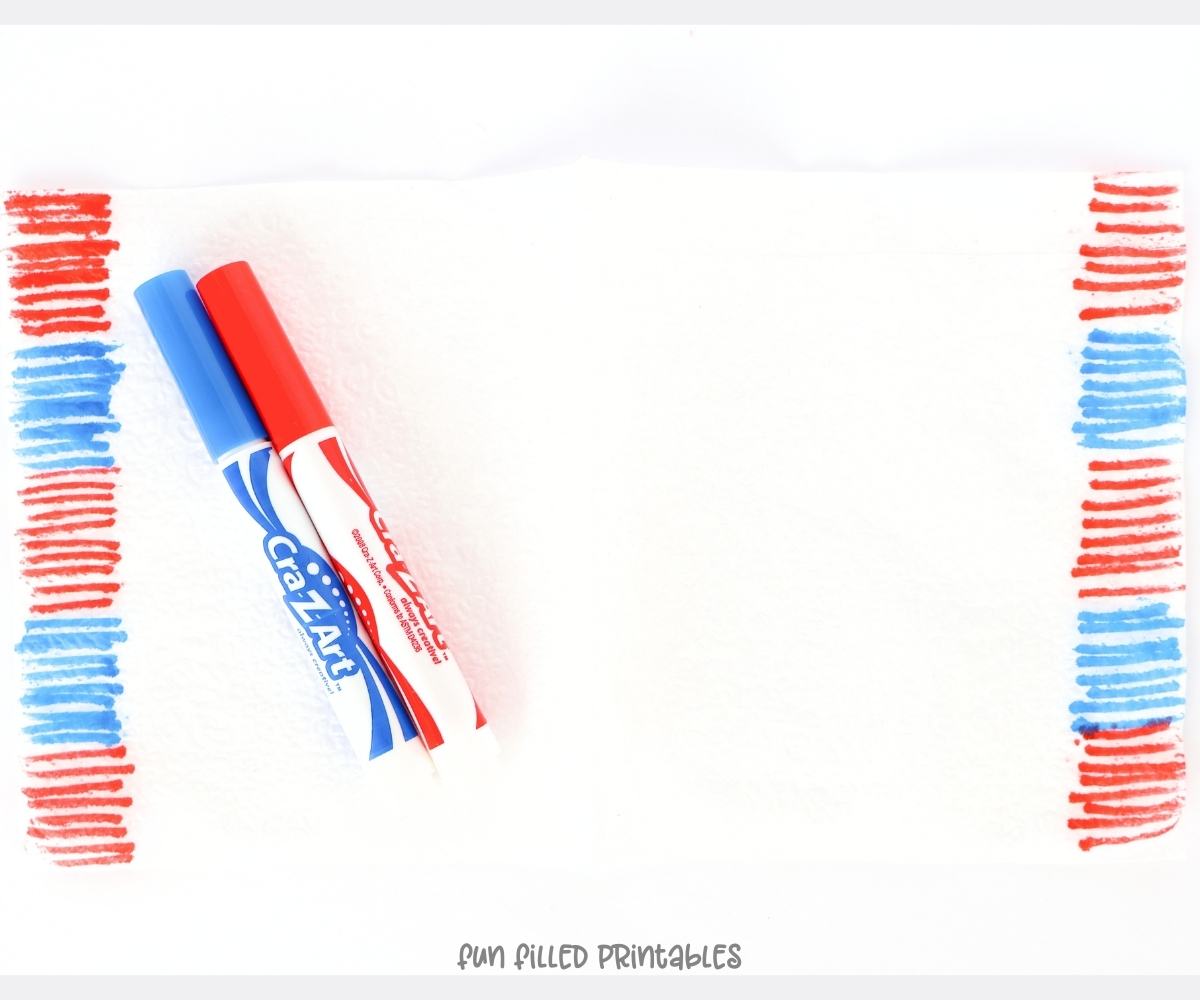
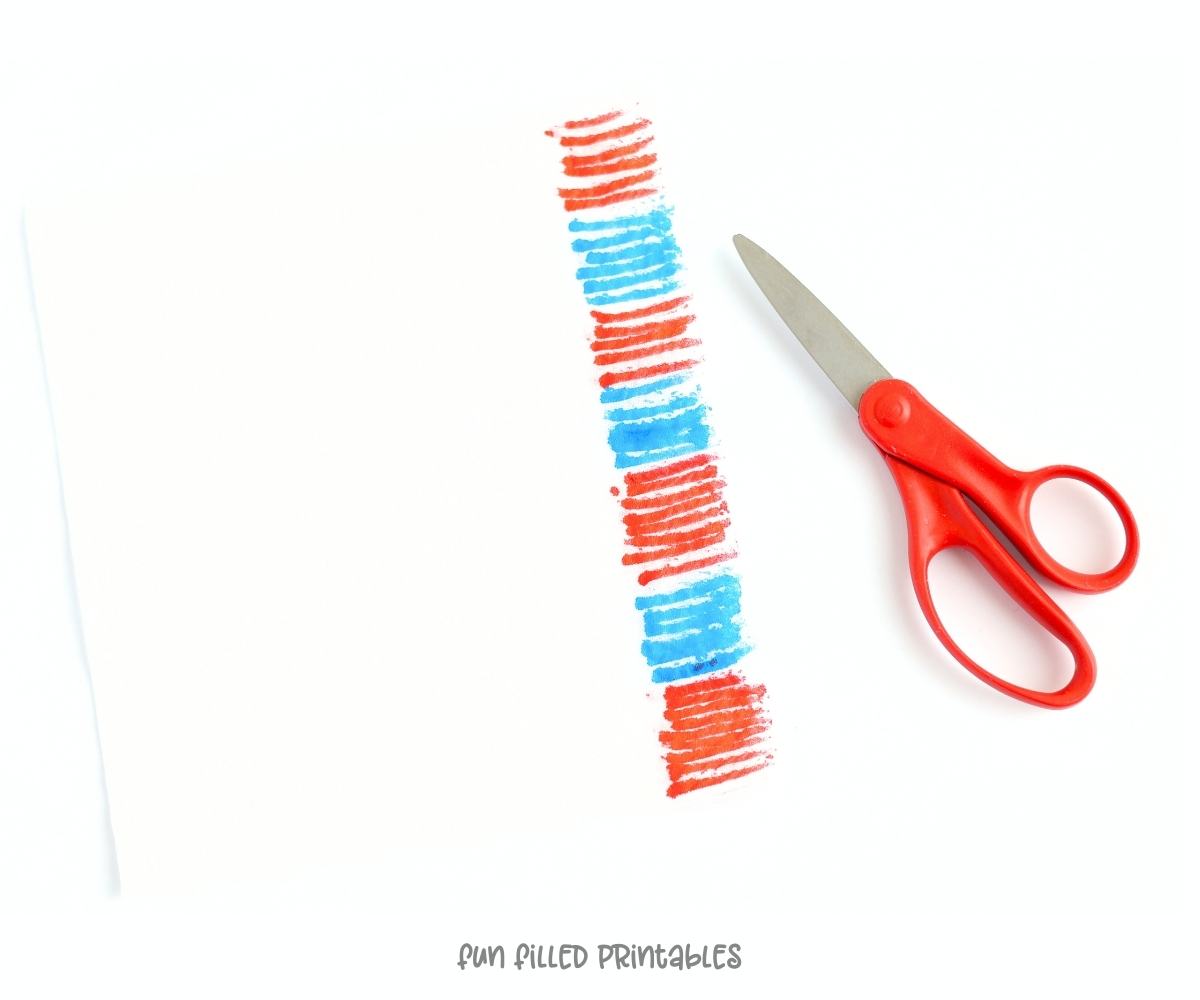
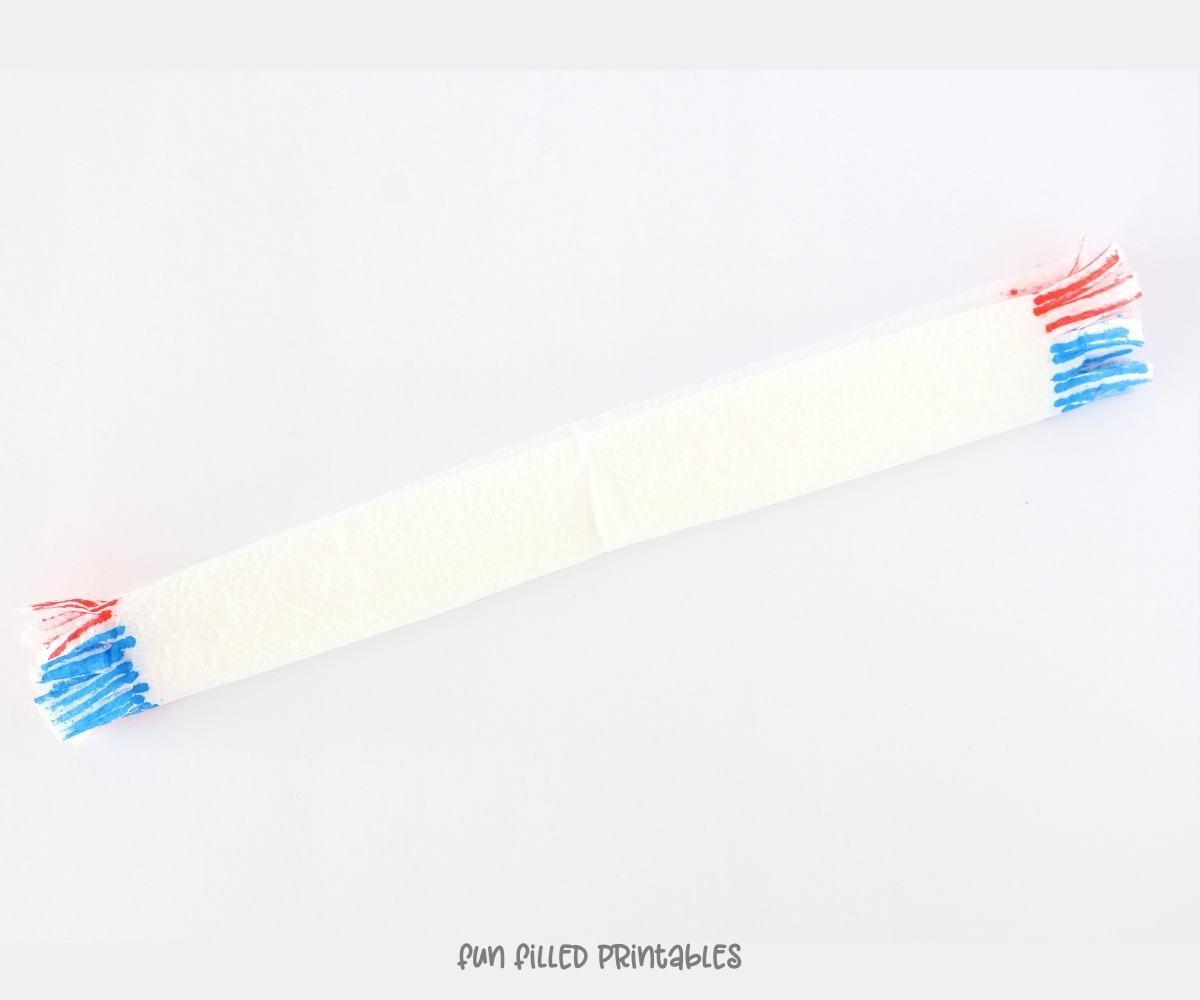
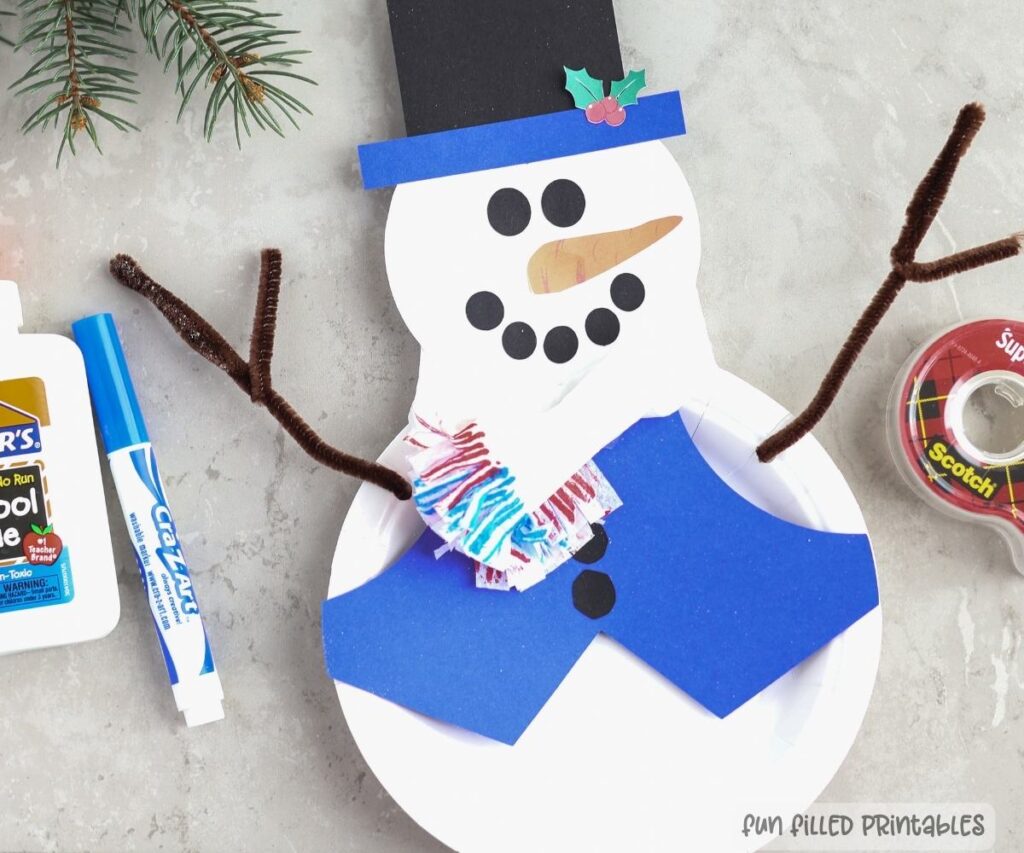
3. Prepare the paper napkin for the scarf, on the open edge of the napkin, color the ends using markers to create a design of your choice.
Then, using scissors cut a fringe on the open edge. Open the napkin and fold length wise to create a long scarf shape.
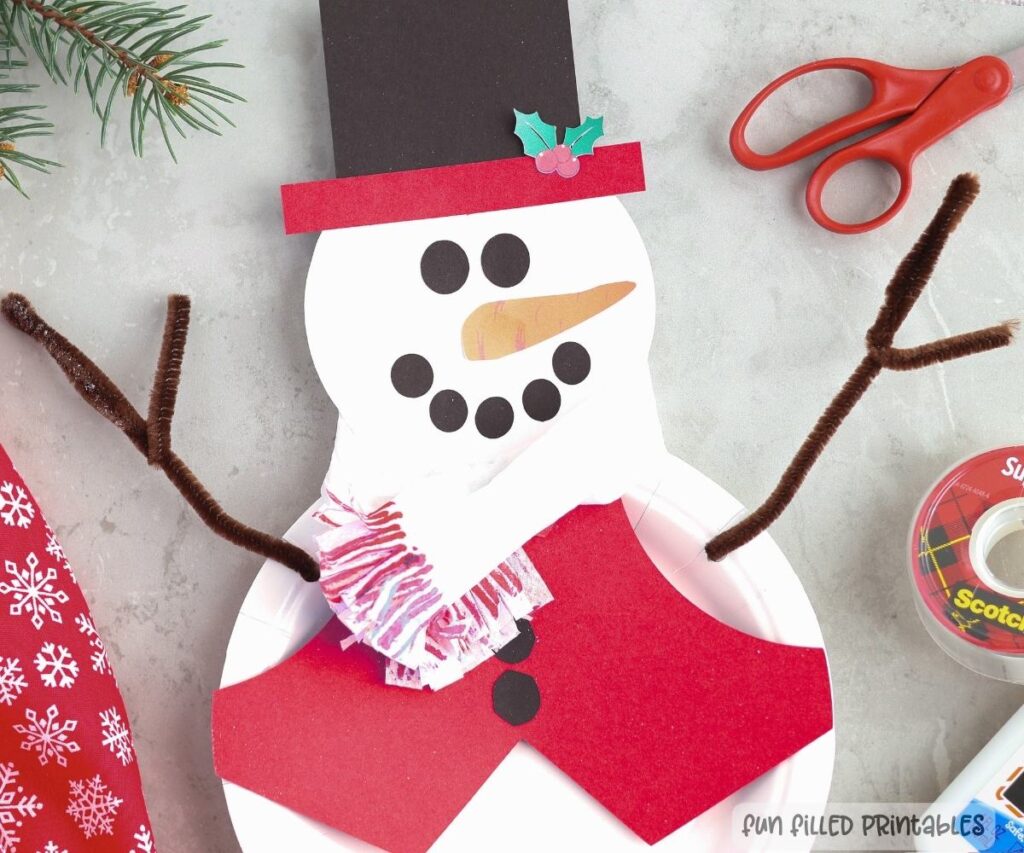
4. Once you have all the pieces cut out and your scarf material ready, it’s time to assemble your snowman.
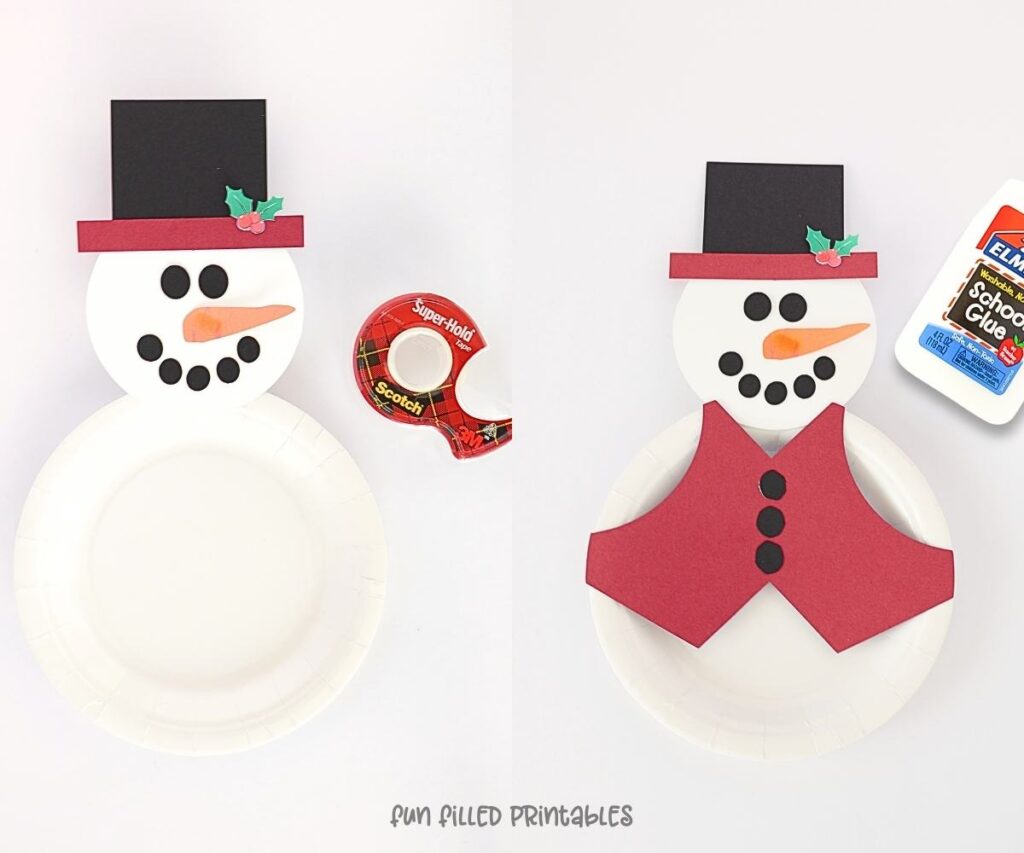
- Glue the black square (hat) to the top portion of the white cutout circle.
- Glue the color rectangle to the front of the black square creating the brim of the hat.
- Using the small black circles and carrot, arrange the eyes, nose and mouth on the white circle and attach with glue.
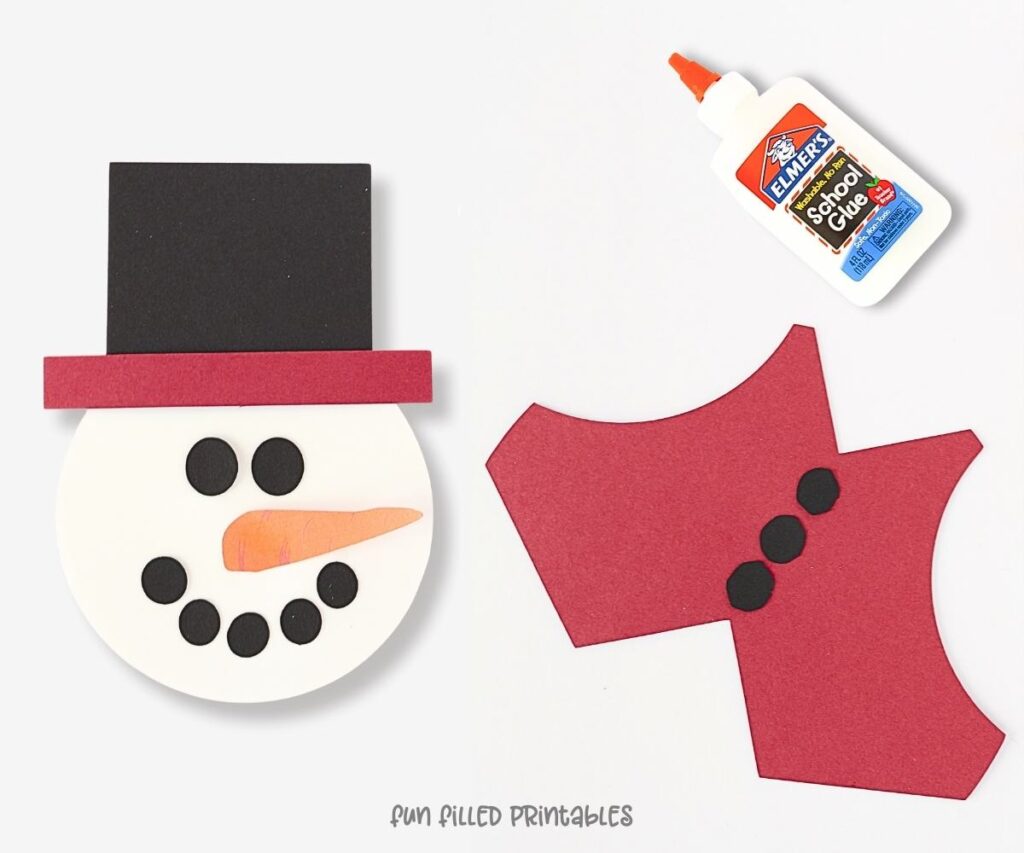
- Glue the holly to the front of the hat.
- Attach the head to the 7-inch paper plate using either tape or glue.
- Glue the buttons to the front of the vest.
- Glue the vest to the paper plate.
- To make the arms, fold the top 2 to 3 inches of the pipe cleaner down on itself and wrap around the main stem to create a second branch. Do this for both pipe cleaners.
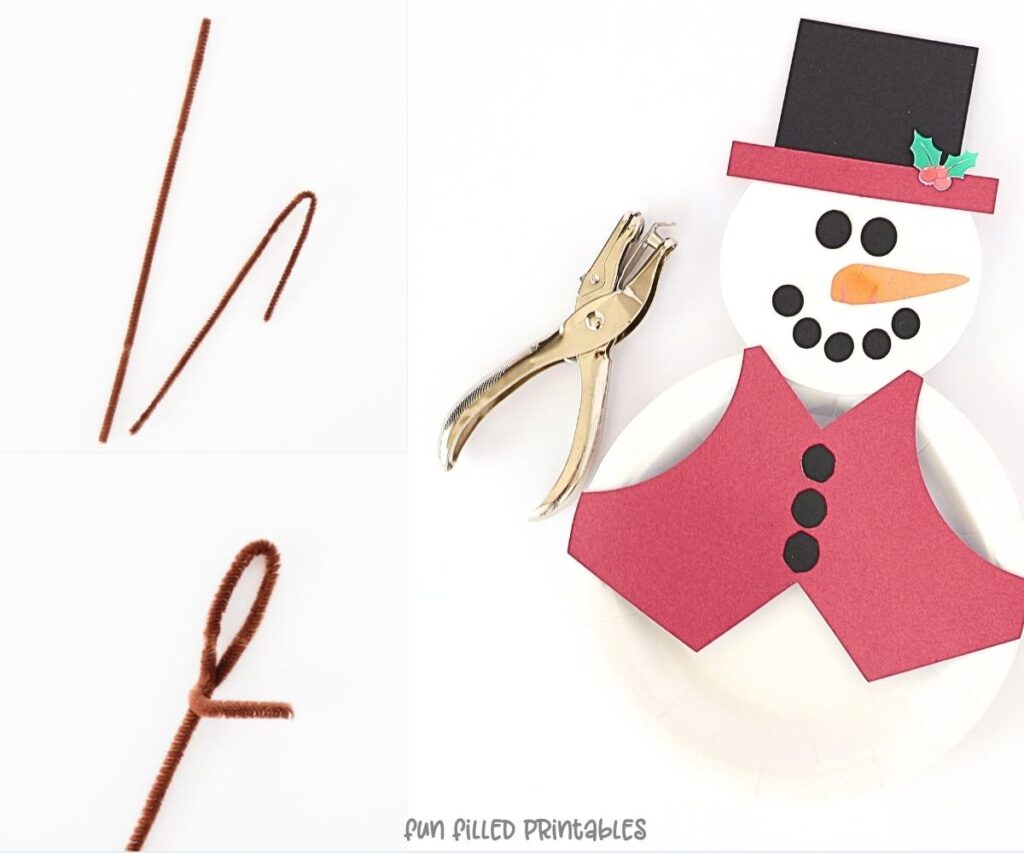
- Using a hole punch, punch a hole on either side of the plate for each arm to be inserted.
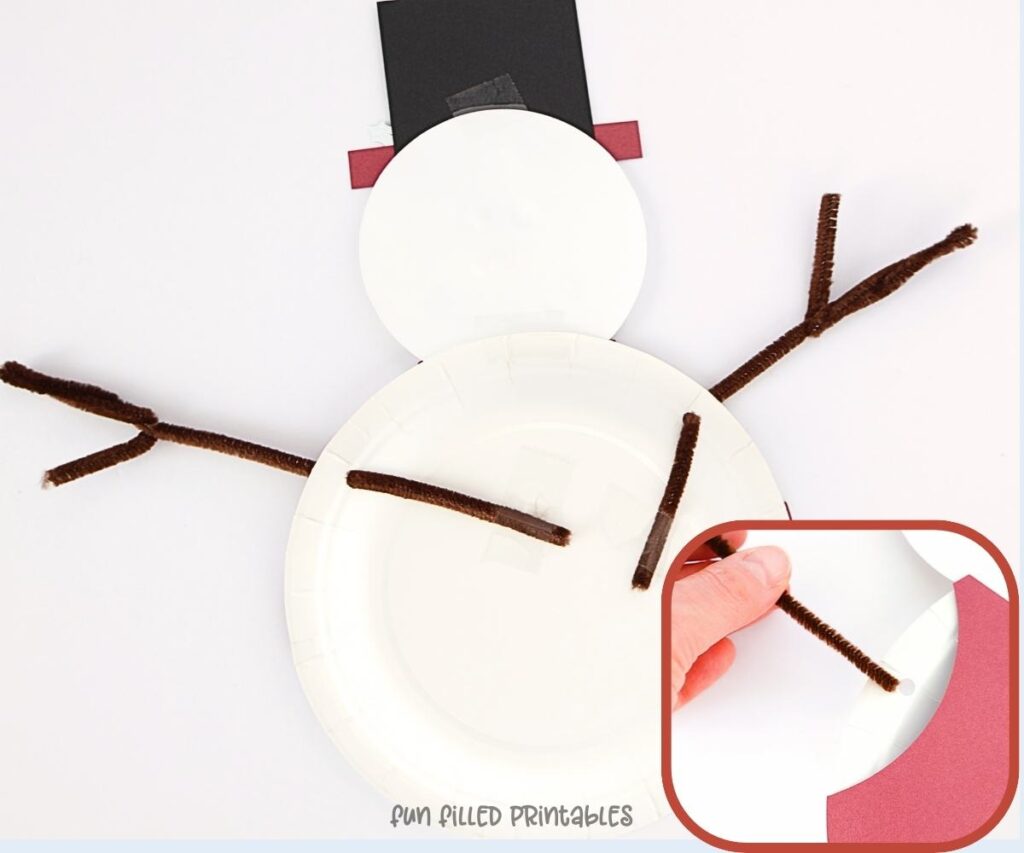
- From the back of the plate, tape each arm to the plate.
- Attach the scarf using glue, tape or tying around the neck.

- Your snowman is now complete and ready for its picture and/or display.
DIY Snowman Craft Printable
This snowman craft template comes in different colors, giving kids an option to choose the color they like. The printable is in US letter size and I would recommend to print it on card stock paper.
To download the parts of this snowman craft, please click below. You can download and print as many copies as you need for personal or classroom use, but please don’t edit or redistribute the files.
I hope you and your kids will enjoy this winter craft. Let me know how it goes in the comment section! Have fun!
And don’t forget to pin this snowman craft and follow me on Pinterest to get updates on my new fun and free printables!
Snowman craft printable
More Winter Craft Ideas
Looking for more holiday-themed printables? Check out these other festive activities:
- Build a Reindeer Template: A fun winter craft that lets kids create their own snowman indoors.
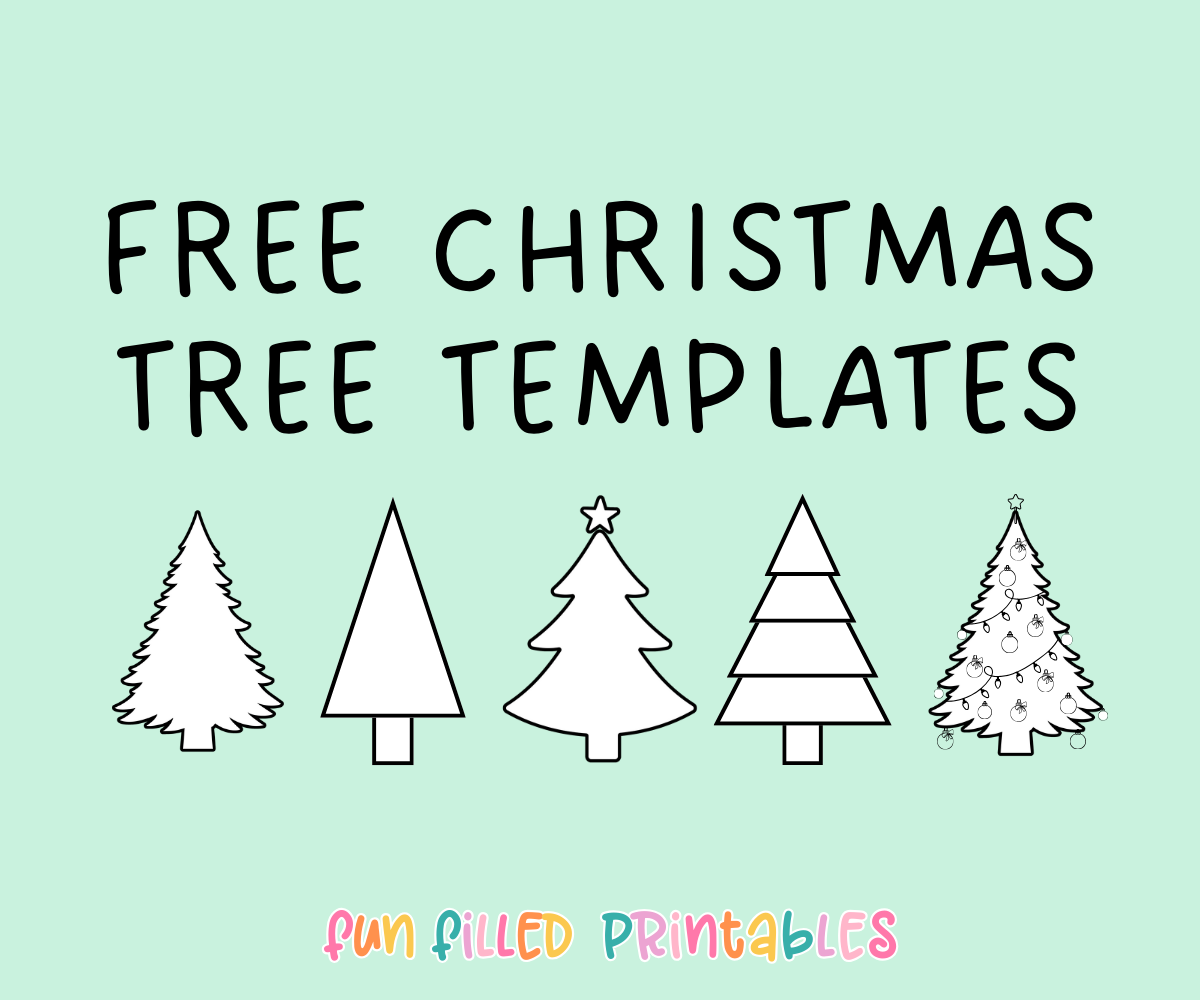
- Free Christmas Tree Templates: Need a Christmas tree template for your upcoming holiday craft or Christmas activity?